my husband is from hawaii, raised there until his eighteenth birthday, which basically translates to, was raised on pork, loves pork, especially pork that is sweet and saucy. i grew up in northern california, in a family who eats and serves meat, but personally i do not eat it. pork tenderloin in our house meant pre-marinated pork shaped logs, sliced, with maybe some gravy. unimpressive. then i learned you could crock pot it and shred it and still have it sweet and saucy. we're never going back to pre-marinated logs again.
this pork is sweet and tangy from reduced balsamic vinegar. brown sugar caramelizes in the final step lending a nice crust and a juicy roast. one try and i am almost certain you'll kiss those per-marinated tenderloins goodbye too. keeping in true island fashion, we serve this with a giant heap of sticky white rice, but a grilled veggie would lend a nice addition as well.

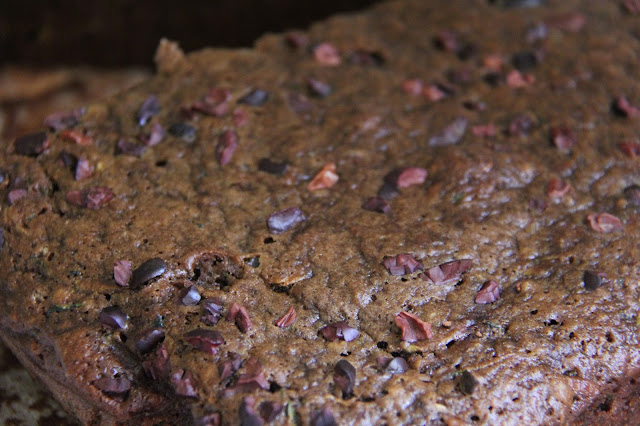
brown sugar balsamic pork tenderloin
yield: serves 6
ingredients:
2 pounds pork tenderloin
1 teaspoon rubbed sage
1/2 teaspoon salt
1/4 teaspoon fresh cracked pepper
1 garlic clove, minced
1/2 cup water
for the glaze:
1/2 cup brown sugar
1 tablespoon cornstarch
1/4 cup balsamic vinegar
1/2 cup cold water
2 tablespoons soy sauce
method:
in a small bowl, combine sage, salt, pepper, and garlic. place pork tenderloin in the slow cooker, rub seasoning over pork. pour 1/2 cup water in the slow cooker, taking care not to wash rub off the pork. cover and cook on low 6-8 hours.
while roast finishes, preheat your broiler. line baking sheet with aluminum foil and spray. set aside.
combine ingredients for glaze in a small sauce pot; brown sugar, cornstarch, balsamic vinegar, water, and soy sauce. heat over medium heat and stir until mixture thickens, about 4 minutes or until sauce coats the back of a metal spoon. remove from heat.
carefully remove pork from slow cooker and place on prepared pan. brush a generous amount of glaze over roast. broil on top rack 1-2 minutes, or until bubbly and caramelized. you get a huge depth lot of flavor from this step. repeat 1-2 more times until you have desired "crust", taking care not to overcook. drizzle with any remaining glaze or serve alongside.